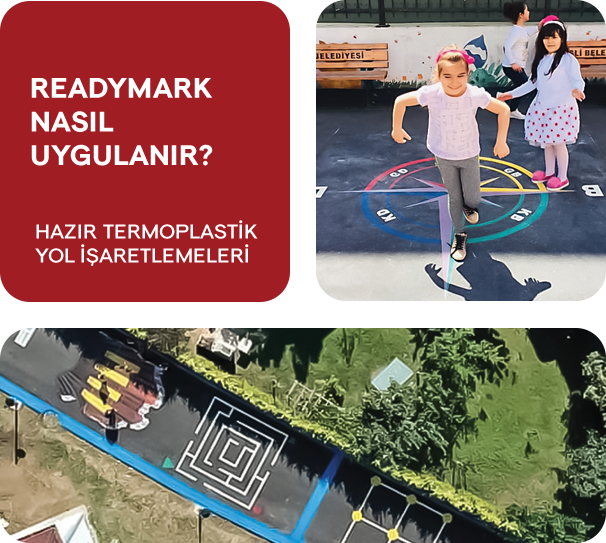
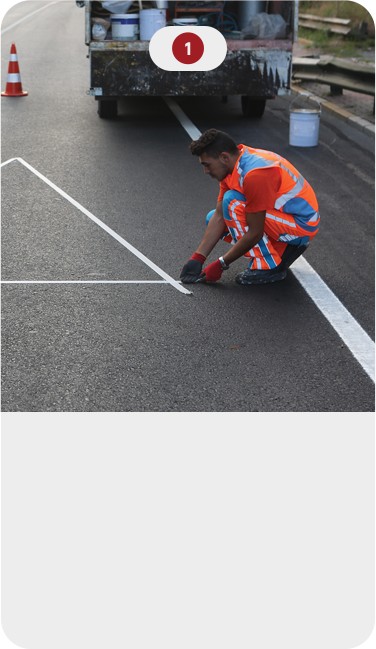
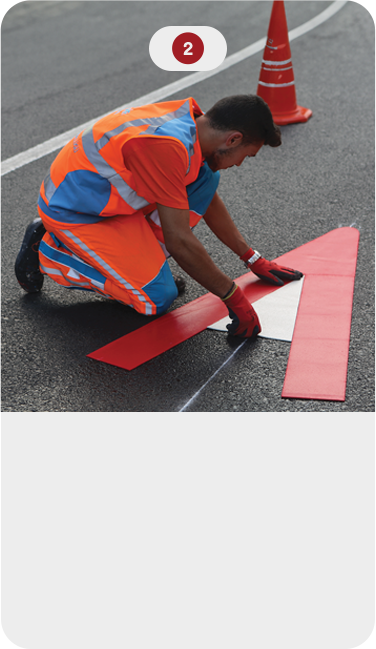
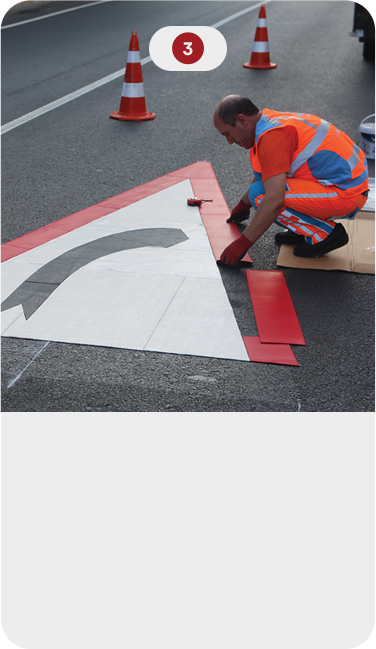
READYMARK NASIL UYGULANIR ? Hazır Termoplastik Yol İşaretlemeleri READYMARK NASIL UYGULANIR ? HAZIR TERMOPLASTİK YOL İŞARETLEMELERİ DİĞER SEÇENEKLER TRAFİK İŞARETİ UYGULAMALARI DETAYLAR LOGO VE ÖZEL UYGULAMALAR DETAYLAR OYUN UYGULAMALARI DETAYLAR READYMARK NASIL UYGULANIR ? HAZIR TERMOPLASTİK YOL İŞARETLEMELERİ DİĞER SEÇENEKLER TRAFİK İŞARETİ UYGULAMALARI DETAYLAR LOGO VE ÖZEL UYGULAMALAR DETAYLAR OYUN UYGULAMALARI DETAYLAR Yüzey temizlenmeli ve her türlü nemden arındırılmalıdır. Astar beton, taş veya eski asfalt üzerine uygulanmalıdır. Readymark yumuşak yüzü yere bakacak şekilde yerleştirilir. Readymark gaz brülörü ile yavaş ve yumuşak bir şekilde ısıtılır. Isıtma malzeme viskoz hale gelip sıcaklık belirtisi geçene kadar devam ettirilir. DİGER SEÇENEKLER TRAFİK İŞARETİ UYGULAMALARI DETAYLAR OYUN UYGULAMALARI DETAYLAR LOGO VE ÖZEL UYGULAMALAR DETAYLAR