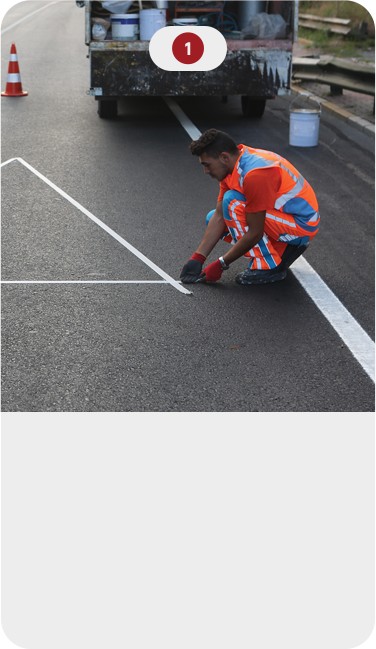
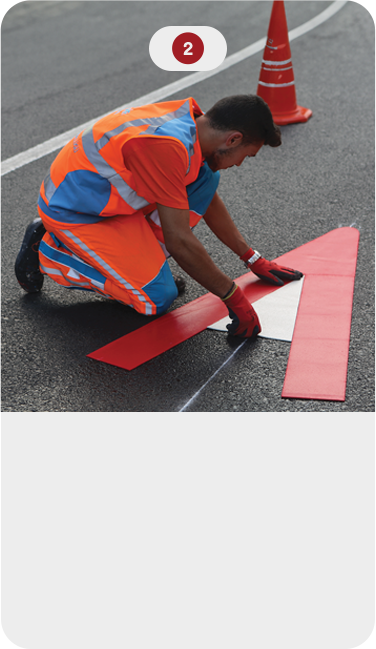
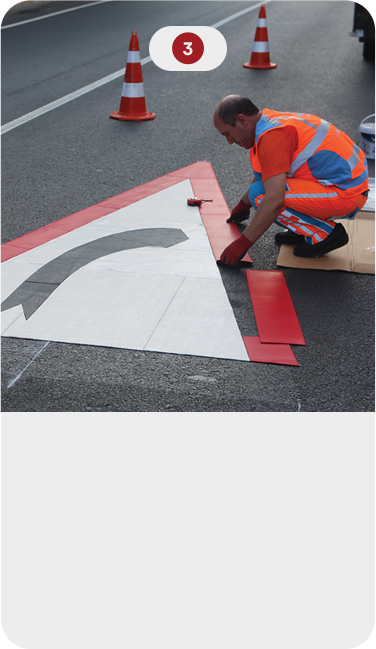
HOW TO APPLY READYMARK? Preformed Thermoplastic Road Marking HOW TO APPLY READYMARK? PREFORMED THERMOPLASTIC ROAD MARKING OTHER OPTIONS TRAFFIC SIGN APPLICATIONS DETAYLAR LOGO AND EXCLUSIVE APPLICATIONS DETAILS PLAYGROUND APPLICATIONS DETAILS HOW TO APPLY READYMARK? PREFORMED THERMOPLASTIC ROAD MARKING OTHER OPTIONS TRAFFIC SIGN APPLICATIONS DETAILS LOGO AND EXCLUSIVE APPLICATIONS DETAILS PLAYGROUND APPLICATIONS DETAILS The surface must be cleaned and any moisture removed. Primer must be used on concrete, stone or old asphalt afterwards. Readymark is placed with the smooth side facingdown. Heat Readymark with the gas burner with slow, smooth movements. Heating continues until the material is viscous and the heat indicators are gone. OTHER OPTIONS TRAFFIC SIGN APPLICATIONS DETAILS LOGO AND EXCLUSIVE APPLICATIONS DETAILS PLAYGROUND APPLICATIONS DETAILS